Category: Beginner’s Hub

  • How to RV in Freezing Temperatures: Victory Every Time

    How to RV in Freezing Temperatures: Victory Every Time

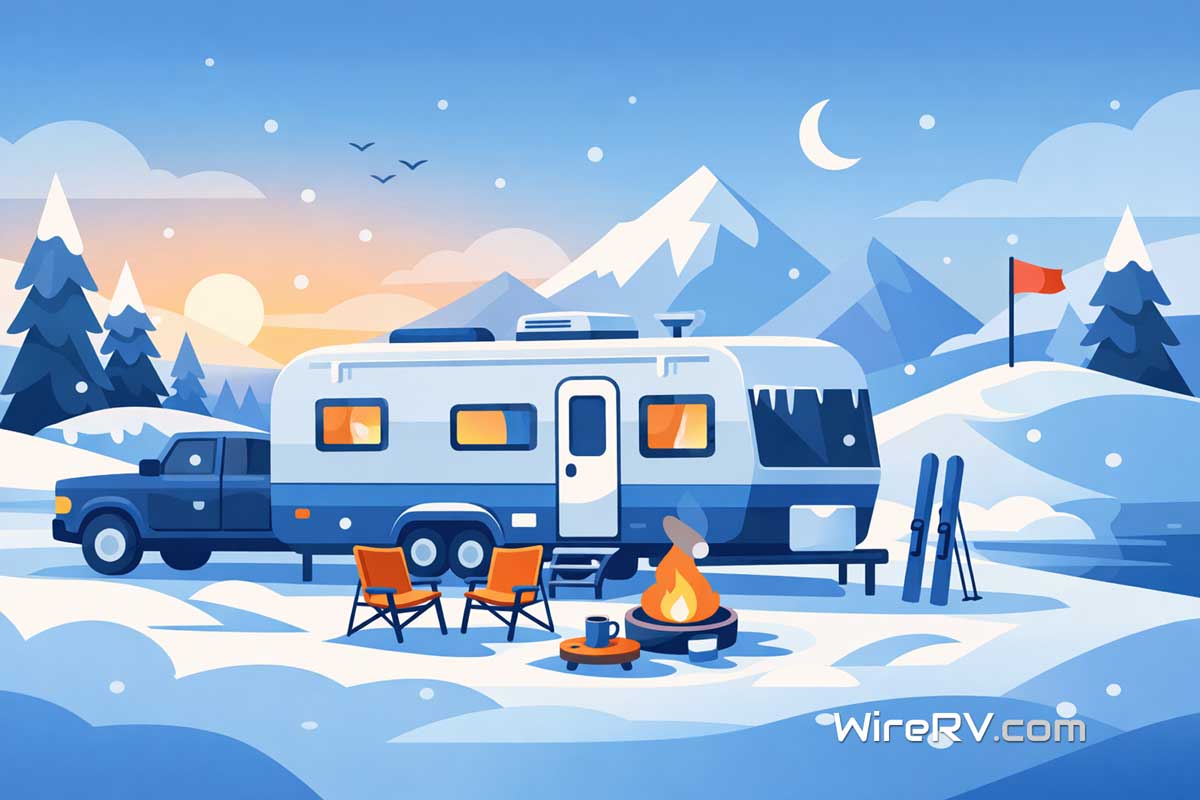
    RV in freezing temperatures can damage pipes, tanks, and batteries fast. However, with the right preparation, you can prevent expensive cold-weather repairs this winter.

    Taking your RV in freezing temperatures without preparation can quickly turn a peaceful camping trip into an expensive disaster. For example, a single overnight freeze can lead to burst pipes, cracked fittings, frozen dump valves, and even dead batteries.

    Fortunately, most cold-weather RV damage is preventable. In fact, if you protect the right systems and manage heat properly, you can run your RV in freezing temperatures comfortably — without destroying your rig.


    Hank and Summer staying warm inside their RV in freezing temperatures with snow outside the window.
    Hank and Summer show how to RV in freezing temperatures by keeping the interior warm while winter conditions build outside.

    ⚠️ First: Know Your Risk Zones for RV in Freezing Temperatures

    When temperatures drop below 32°F, several areas become vulnerable. Specifically, you need to watch:

    • 🚰 Fresh water hose
    • 🔌 City water connection
    • 🛢 Holding tanks
    • 🚽 Dump valves
    • 🔧 Interior plumbing lines
    • 💧 Water pump
    • 🔋 Batteries
    • 🔥 Propane system

    Moreover, if temps dip below 20°F, the risk increases significantly — especially overnight. Therefore, the goal is simple: protect water, maintain heat, and reduce exposure.


    1️⃣ Protect Your Water Supply 💦

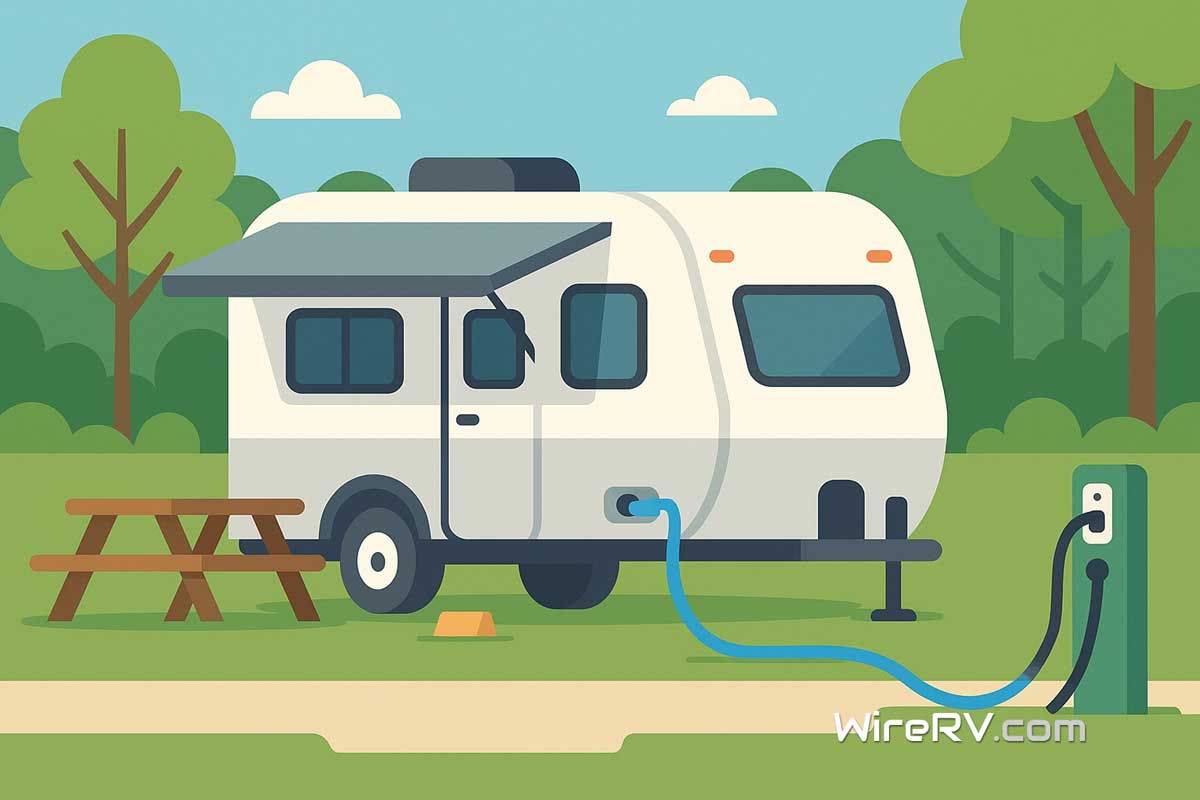
    First, understand that your water hose is usually the first component to freeze.

    🔥 Use a Heated RV Water Hose

    A heated RV water hose prevents ice from forming inside the line. As a result, it’s the simplest and most reliable solution for sustained freezing temps.

    👉 View a heated RV water hose on Amazon

    Before setting up, make sure:

    • It’s rated for outdoor winter use
    • Connections are tightly sealed
    • The thermostat portion is exposed to outside air

    🧊 Insulate the Spigot

    Even with a heated hose, the campground spigot can freeze. Therefore, it’s important to add insulation.

    Wrap it with:

    • Foam insulation
    • Heat tape (if allowed)
    • An insulated cover

    In extremely low temperatures, you may want to fill your fresh tank and disconnect entirely overnight. That way, you reduce the risk of an external freeze-up.


    2️⃣ Protect Your Holding Tanks 🛢 When You RV in Freezing Temperatures

    Next, turn your attention to the holding tanks. Frozen tanks are not only expensive but also frustrating to deal with.

    🔥 Add Tank Heater Pads

    If your RV doesn’t have built-in tank heaters, aftermarket tank heater pads can help. In particular, they prevent:

    • Ice buildup
    • Cracked tanks
    • Frozen dump valves

    👉 View RV tank heater pad kit on Amazon

    🚫 Keep Valves Closed

    Equally important, do NOT leave gray or black tank valves open in freezing weather.

    Otherwise, liquids will freeze in the hose and create a solid blockage.

    Instead:

    • Keep valves closed
    • Dump when tanks are at least 2/3 full
    • Disconnect and store the hose after dumping

    As a general rule, dump quickly and then remove exposure to the cold.


    3️⃣ Add Skirting (Even Temporary Skirting Helps) 🧱

    Meanwhile, don’t ignore what’s happening underneath your rig. Cold air under your RV increases heat loss and freezes tanks faster.

    For this reason, skirting blocks wind and traps warmer air beneath your RV.

    Options include:

    • Custom vinyl skirting
    • DIY foam board panels
    • Reflective insulation
    • Heavy-duty tarps (temporary solution)

    👉 View a heavy-duty waterproof tarp for RV skirting on Amazon

    Even partial wind blocking can make a noticeable difference. In other words, perfection isn’t required — improvement is.


    4️⃣ Manage Interior Heat the Right Way 🔥 for RV in Freezing Temperatures

    At this point, it’s important to understand that your furnace does more than keep you warm — it protects your plumbing.

    Because most RV furnaces route warm air into the underbelly, they actively protect tanks and lines.

    ⚡ Don’t Rely Only on Space Heaters

    Although electric space heaters warm the living area, they may not heat plumbing compartments.

    Therefore, use them to supplement heat, not replace the furnace entirely.

    👉 View a compact ceramic space heater on Amazon

    🚪 Open Cabinets

    Additionally, open cabinet doors under sinks to allow warm air to circulate around pipes.

    Small adjustments like this can significantly reduce freezing risk.


    5️⃣ Prevent Condensation Damage 💧 of RV in Freezing Temperatures

    At the same time, cold-weather RVing creates moisture problems.

    Cooking, breathing, and propane heat add humidity. Consequently, when that moisture hits cold surfaces, condensation forms.

    Over time, this can lead to:

    • 🦠 Mold
    • 🧱 Soft walls
    • 🪟 Damaged window seals

    To manage this effectively, use:

    👉 View a compact dehumidifier for RV use on Amazon

    • A small dehumidifier
    • Vent fans while cooking
    • Moisture absorbers in closets

    Ultimately, managing moisture is just as important as preventing frozen pipes.


    6️⃣ Protect Your Batteries 🔋

    In addition to plumbing concerns, cold temperatures reduce battery efficiency dramatically.

    For example, at 32°F, batteries lose roughly 20% capacity. At 0°F, that number increases even more.

    To protect them:

    • Keep batteries fully charged
    • Keep them clean and dry
    • Protect them from wind exposure

    If possible, use insulated battery covers during sustained freezing weather. That extra layer can help preserve performance.

    👉 View an RV battery insulation cover on Amazon

    Keep batteries fully charged and protected from wind exposure. For a complete packing list of RV essentials that help protect your rig in any season, check out this RV Essentials Checklist.


    7️⃣ Know When to Disconnect 🚫🚰 Your RV in Freezing Temperatures

    Finally, know when conditions require a different strategy.

    If temperatures are dropping into the teens or lower for multiple days, consider switching to dry camping mode.

    Specifically:

    • Fill fresh tank
    • Disconnect water hose
    • Dump and store sewer hose
    • Monitor tank levels carefully

    By reducing external connections, you significantly lower freezing risk.


    🥶 What Temperatures Are Too Cold to RV in Freezing Temperatures?

    Naturally, many RVers ask this question.

    There isn’t one universal cutoff. However, many modern RVs with enclosed underbellies and tank heaters can handle sustained temps in the 20s.

    Below that, preparation becomes critical. In fact, single-digit temps require:

    • Skirting
    • Tank heaters
    • Active monitoring
    • Consistent furnace use

    Without preparation, damage can happen quickly. Therefore, always match your setup to the forecast.


    ✅ Final Thoughts

    In summary, running an RV in freezing temperatures isn’t reckless — but it does require intention.

    Protect your water systems. Manage heat correctly. Reduce exposure.

    If you prepare proactively, you can prevent thousands of dollars in repairs later.

    Ultimately, winter camping can be quiet, peaceful, and crowd-free — as long as your pipes survive it. ❄️🚐

    Always check the forecast before setting up. The National Weather Service provides up-to-date winter weather safety guidance and alerts.

  • RV Crosswind Driving: Spectacular Safety Tips You Will Love

    RV Crosswind Driving: Spectacular Safety Tips You Will Love


    In short, RV Crosswind Driving starts with planning. Crosswinds steal steering margin, strain tires, and raise stress fast. First, know where gusts hit hardest: open plains, bridge decks, mountain passes, and gaps between buildings or trees. Next, plan your route and speed with the wind in mind so you arrive calm and in control.


    RV crosswind driving scene with an orange SUV towing a travel trailer in strong crosswinds on a two-lane highway.
    Crosswinds push high-profile rigs; slow down, keep two hands on the wheel, and leave extra space.

    🌬️ RV Crosswind Driving tips for Different RV types

    • 🛞 Set tire pressure cold. Proper PSI preserves stability and keeps temperatures down. A reliable digital tire pressure gauge makes it easy to check your tires before hitting the road.
    • 🐢 Slow down. Wind force grows with speed, so cut 5 to 15 mph as needed.
    • 👐 Two hands, eyes far. Grip at 9 and 3, look ahead, and leave extra following distance.
    • 🛣️ Lane choice matters. When possible, use the upwind lane so the shoulder is on your leeward side.
    • 🌬️ Expect gust zones. Before bridges, cuts, and passes, center the vehicle and steady the throttle.
    • ↔️ Pass with margin. Trucks create a push then a pull as you pass; move gradually and return gently.
    • 🅿️ Know when to stop. If constant steering correction is required, pull off in a sheltered lot and point the nose into the wind.

    🚚 Towables: travel trailers and fifth wheels

    Trailers introduce articulation, so sway can build quickly. Therefore, loading and hitch setup matter.

    • ⚖️ Tongue or pin weight: Aim for 10–15 percent on travel trailers and follow manufacturer guidance for fifth wheels.
    • 📦 Weight placement: Keep heavy items low and slightly forward of the trailer axle.
    • 🔧 Hitch setup: Verify weight-distribution height and sway control tension before departure. A properly adjusted weight distribution hitch with sway control can help improve stability in crosswinds.
    • 🌀 On the road: If sway starts, hold throttle steady. Do not stab the brakes. Use the manual trailer‑brake control to straighten, then ease off the throttle until stable.
    • 🔁 After a gusty leg: Recheck tension and load balance at the next stop.

    🚐 Motorized: Class C and Super C RV Crosswind Driving

    These coaches feel crosswinds through tall sidewalls and rear overhang. Consequently, smooth inputs help most.

    • ⚖️ Balance the load: Distribute gear side to side and keep weight low.
    • 🛣️ Lane position: Favor the upwind lane for a safer shoulder.
    • ⚙️ Power management: Downshift early on grades so you have throttle in reserve.
    • 🚛 ↔️ Passing strategy: Give buses and semis wide room and return to lane gradually.

    🚌 Motorized: Class A RV Crosswind Driving

    Large frontal area and slab sides magnify gusts. Additionally, suspension condition affects control.

    • 🧰 Inspect before trips: Check steering components, air suspension or springs, and stabilizers.
    • 🐢 Speed discipline: Reduce speed sooner on exposed bridges and ridgelines.
    • 📏 Buffer space: Increase following distance and avoid traveling beside high‑profile trucks in strong crosswinds.

    🚐 Motorized: Class B and B+ RV Crosswind Driving

    Vans have the lowest profile, yet gusts still nudge them, especially when passing.

    • 🌊 Predict bow waves: As you meet large trucks, brace for a brief push then a pull.
    • Stay planted: Keep two hands on the wheel and avoid abrupt corrections.
    • 🧳 Watch roof loads: Cargo boxes and bikes add side area; secure them tightly.

    ⚠️ When to pull off

    Even skilled drivers should pause when conditions exceed comfort.

    • 🌬️ Sustained crosswinds near 25–35 mph with higher gusts.
    • 🌪️ Debris, dust, spray, or whitecaps crossing the roadway.
    • 🔄 Continuous steering correction for more than a minute.
      Find a sheltered lot, park nose to wind, and reassess the route and timing.

    ✅ Quick pre‑trip checklist

    • 🛞 Tire PSI set cold and verified with a reliable digital tire pressure gauge
    • ⚖️ Tongue or pin weight confirmed
    • 📦 ⬇️ Heavy gear low and forward
    • 🔧 Hitch height and sway control set
    • 🛰️ 🌬️ Forecast and wind direction checked
    • 🧭 Speed plan for exposed segments
    • 🅿️ Rest stops chosen as wind windows

    With these crosswind practices, you protect tires, reduce fatigue, and keep the trip on schedule. Moreover, a calm plan turns windy days into manageable driving rather than white‑knuckle miles. Before you roll, check official wind guidance from the National Weather Service on high-wind driving precautions and when to slow or stop.

    Plan your route and timing around wind windows—our National Parks RV Travel guide covers route planning and timing tips for long drives: https://wirerv.com/national-parks-rv-travel/

  • WireRV Setup Guide: Unlock a Wondrous Way to RV

    WireRV Setup Guide: Unlock a Wondrous Way to RV

    Setting up your RV at camp doesn’t have to be stressful. Whether it’s your first trip or you just need a refresher, the WireRV Setup Guide walks you through the process step by step. No guesswork. No scrambling. Just a smooth arrival and a relaxing start to your stay.

    Man adjusts awning on RV at sunny campsite as part of the WireRV Setup Guide.

    WireRV Setup Guide Step 1: Park and Position Your RV

    • Pull into your campsite slowly and align your rig with the hookups
    • Back in carefully if needed, watching for tree limbs and uneven ground
    • Use walkie-talkies or hand signals to help guide the driver
    • Also make sure the site is level and clear before shutting off the engine

    WireRV Setup Guide Step 2: Level Your RV

    • Use a bubble level or your rig’s built-in leveling system
    • Additionally place leveling blocks under the tires or leveling jacks if necessary
    • Lower stabilizers to prevent rocking (they are for support, not leveling)
    • Chock the wheels with wheel chocks to prevent unwanted movement

    Being level keeps your fridge, plumbing, and sleep setup working properly.


    WireRV Setup Guide Step 3: Connect to Shore Power

    • Firstly, plug in your RV’s power cord to the electrical pedestal.
    • Always use a surge protector to guard against voltage spikes.
    • Turn the breaker off before plugging in, then flip it on after.
    • Check your power system inside to make sure it’s working.

    WireRV Setup Guide Step 4: Hook Up Water


    WireRV Setup Guide Step 5: Connect the Sewer Hose

    • Certainly wear disposable gloves for this step.
    • Attach one end of the sewer hose kit to your RV and connect the other end to the sewer inlet.
    • Also, use a sewer hose support or a clear elbow connector for a smooth downward flow (most quality sewer hose kits include a clear elbow).
    • Keep the black and gray valves closed until the tanks are nearly full.
    • Empty the black tank first, then the gray tank to help rinse the hose.

    Consequently leaving the black tank valve open at all times can lead to clogs and bad smells.


    WireRV Setup Guide Step 6: Set Up Inside and Outside

    Inside your RV:

    • Turn on the water heater, fridge, and thermostat
    • Open slides only after confirming exterior clearance
    • Also unpack must-have items like kitchen tools and bedding

    Outside your RV:

    • Extend the awning
    • Additionally set up chairs, rugs, lights, and other outdoor gear
    • Store supplies neatly and keep anything edible sealed tight

    Final Step 7: Do a Final Walkaround

    • Check all hookups for leaks or trip hazards
    • Make sure hoses and cables are placed safely
    • Confirm that propane is turned on if you need it
    • Also secure any loose gear and close your compartments

    You’re All Set

    With everything in place, you can finally relax and enjoy the campground. Whether you’re grilling dinner, going for a hike, or just soaking in the quiet, a smooth setup helps you make the most of your trip.

    Want a printed checklist to keep on hand? You can find one inside our First-Time RV Owner Guide.

  • Practical First-Time RV Owner Guide You Need to Succeed

    Practical First-Time RV Owner Guide You Need to Succeed

    First-Time RV Owner Guide - Smiling first-time RV owners standing beside a new travel trailer at a scenic campground.

    Embark on Your RV Adventure with Confidence

    Starting your RV journey? Then you’re in the right place. This First-Time RV Owner Guide covers everything you need to hit the road prepared, from choosing the right rig to mastering essential skills, safety tips, and setup routines.

    Whether you’re planning weekend getaways or dreaming of full-time travel, this guide will help you avoid common mistakes and start strong.


    Choosing the Right RV for You

    Altogether, there are many types of RVs: motorhomes, travel trailers, fifth wheels, camper vans. So which one is right for your lifestyle?

    Firstly, consider these factors:

    • Size and Space: So, how many people? Specifically, how much room do you need?
    • Towable or Drivable: Particularly, do you want to drive your RV or tow it behind a vehicle?
    • Budget: RVs range from $10K used trailers to $500K luxury motorhomes.
    • Storage and Parking: Where will you keep your RV when not in use?

    Pro Tip 💡: Rent different RVs before buying to get a feel for what fits.


    Essential Gear You Need on Day One

    Every RV newbie needs a core set of tools and supplies.
    For instance, here’s what to pack:

    Furthermore, download our RV Essentials Checklist 📋 to make sure you’re fully equipped.


    First Trip Planning Made Easy

    Before you go, take these steps:

    1. Book campsites in advance, especially during peak seasons.
    2. Practice driving and parking as well as in an empty lot.
    3. Plan short trips first coupled with building experience.
    4. Check weight limits specifically to balance your load.
    5. Know your RV’s height before approaching bridges or drive-thrus.

    Apps like Campendium, Roadtrippers, and RV LIFE Trip Wizard can also help. Generally, for additional help, check out Go RVing’s Beginner’s Guide for expert tips on planning and prepping your first adventure.


    Avoiding Common Rookie Mistakes

    Even seasoned travelers slip up, but here are the top mistakes to avoid as a first-time RV owner:

    • Not doing a full walkaround before driving
    • Leaving vents open while driving
    • Not to mention, not checking propane levels
    • Also, forgetting chocks or leveling pads
    • Overpacking and exceeding weight limits
    • Ignoring campground etiquette (quiet hours, pet rules)

    Must-Know RV Skills for Beginners

    To stay safe and confident, learn these essential skills:

    How to:

    • hook up water, sewer, and electric
    • dump tanks safely and cleanly
    • back up and park
    • monitor tank levels and battery power
    • winterize if you’re in cold climates

    Don’t worry, you’ll get better each time you hit the road.


    The First-Time RV Owner Guide Setup & Breakdown Routine

    Campground setup and teardown can feel overwhelming. Follow a checklist:

    Arrival/Setup:

    • Park, chock wheels, level RV
    • Connect electric, water, sewer
    • Slide-outs and awning (if any)

    Departure/Breakdown:

    • Retract slides and awning
    • Disconnect utilities
    • Dump tanks
    • Check lights and tire pressure
    • Final walkaround

    Print a copy of your checklist to stay on track.


    Life on the Road: Tips for First-Time RV Owner Guide Living

    • Join RV communities for tips, support, and campground reviews
    • Keep a maintenance log to track service and repairs
    • Set realistic travel goals to avoid burnout
    • Keep essentials organized and accessible
    • Use a weather app to avoid storms and extreme temps

    Ready to Roll? Final Advice for First-Time RV Owner Guide

    Take your time learning the ropes. Mistakes happen, and that’s part of the journey. With the right prep, your RV lifestyle will be rewarding, exciting, and full of adventure.

    Bookmark this First-Time RV Owner Guide and come back anytime you need a refresher.

    Stay safe and happy travels from all of us at WireRV!